Many homes around Toronto have attic spaces are not ventilated or insulated properly. This can result in a roof not lasting as long as it should, high heating and cooling costs, mold, and ice damming.
We would like to give an overview of how we have overcome some of these issues for our clients.
First off, if your home has wood soffits then sections of the wood soffit should be cut out to increase airflow. For this client we are cutting out all the plywood soffit to maximize airflow into the attic. Keep in mind that this layer of plywood can be hidden under a layer of existing soffits.
With the installation of new aluminum soffits the plywood can be completely removed with out jeopardizing the integrity of the roof. The plywood was used many years ago to seal up this area but today aluminum soffits will take its place and vent much more effectively. New homes today do not have a layer of plywood, just aluminum or vinyl soffits.
Cutting out all the plywood is more labour intensive than just cutting an extra ventilation holes every so often. It does however let the attic breathe much better. Also removing the plywood at this home allows us to see some pot light wires that were chewed bare by squirrels. This resulted in a service call from our licensed electrician to correct the hazards.
It takes about a 1/2 to full day to cut out all the plywood on a typical Toronto home. The clean up is intensive as usually there is much debris sitting on top the old plywood. This is where hiring a thorough soffit, fascia and eavestrough company pays off because they are knowledgeable and care about the aesthetics and very importantly, the function of your new system.
Now that the plywood is out we look up into the cavity to see how many rafter vents have been installed if any. They are a simple foam chute that is stapled to the underside of the roof deck. They are needed to prevent any insulation in the attic from coming out onto the soffits and also to allow an air gap between the roof deck and the top of the wall plate (in other words this gap into the attic is narrow and can get plugged by insulation easily and that's not good for airflow).
We like to put them between every rafter to promote even airflow. With the wood soffits removed we can often slide the first rafter chute in from the outside. Then its gets stapled to the plywood and a piece of batt insulation is fitted under the chute to prevent the new attic insulation from flowing out onto the yet to be installed vented soffits. Many insulation companies might say this is overkill on the baffles so check with them for how many they will install.
Let's now take a look inside the attic. Lights need to be set up as there is very little light in the attic.
We have continued these rafter chutes about 6 feet up the roofline because this roof is about a 5/12 pitch (average steepness and can easily be walked on). Extending the chutes up this far allows for a deep layer of blown in insulation to be applied without covering the top end of the chute with insulation and blocking airflow. Its tight/hard work to reach out to this narrow area of the attic space. Care must be taken as not to put pressure on the ceiling below or a person or portion of, may end up in your living room!
Once all these are stapled securely in place around the entire perimeter of the attic we are ready to start the blown in insulation process.
This home has a thin layer of batt insulation from when the house was built in the 1950's. It's important to clean up any debris to make an even, flat surface so an even layer of insulation can be blown in. The debris can be bagged and taken out to be disposed of.
The most thorough way to take care of this old insulation is to have it completely sucked out with a large vacuum hose. This will totally get rid of all the old product and then you have a nice clean ceiling. This can now allow for you to blow the attic in with loose fill or first seal the ceiling with a spray foam to give a super tight seal which can act as a vapour barrier and stop all drafts down to the living area. Once a layer of spray foam is installed many companies will then blow a layer of loose fill over top to keep the cost down.

Now is the time to give a close inspection to any visible wiring as there could be damage over the years from animals chewing, or work done unsafely like seen here. One wire added to another with no junction box(metal box) is not to code and is a fire risk. Also bare wires can be hazardous to the people working in the attic so care must be taken. We will flag this area and notify the homeowner that this will have to be fixed by a licensed electrician. Only the owner of the home or a licensed electrician is legally allowed to do even the most basic wiring. If it's possible, have an electrician there before the attic is insulated for a thorough inspection.
Any fans that are not vented properly through the roof deck need to be addressed. An insulated hose to prevent condensation and a proper roof vent needs to be installed if not done so already. In this case this fan was non-operating and was no longer needed so it was permanently sealed tight to prevent air leakage.
Look around to see if there are any openings like this. This is an area around the top of the cupboards in the kitchen. Determine how deep these are and whether they can be filled with loose attic insulation or if not, covered with something rigid and air sealed before the loose fill is added over top.
Another important thing to watch out for in older style pot lights. Some of these need an air space between the insulation and the actual light. Either swap out the light with a modern pot light that can be covered or create an airspace by using something like a Sonotube (stiff cardboard tube) with a cover cut down to length to create an air gap around the lights.
Any walls that have heated living space on the other side will usually need to have the insulation upgraded as well. In this case Styrofoam SM was used and Tuck tape was used to seal the cracks. Once again the best way to do this would be to spray foam the wall. It will depend on the budget of course which one you choose with the spray foam costing more.
In this home the client wanted loose fiberglass insulation but we use the recycled newspaper product before as well. Insulation companies will usually have a preference between the two types. Our preference after using both would be the recycled newspaper product. The fiberglass goes in very loose and takes a very thick layer to get to a hefty R-50 or R-60 which is what we like to see.
Start blowing in from the far end so you can work your way back to the attic hatch.
Once we are done we will hardly even see the top of these rafter vents.
We have a marker in place to tell us how deep the product is. We will end up with about 30 to 35 inches in total and no longer be able to see these. Insulation is not very expensive and since no one will be in this attic for maybe another 30 or 40 years then why not do it up the best way possible?
Finished layer of blown in attic insulation.
Now that we have a well ventilated and insulated attic space make sure the roof has adequate roof vents to allow the warm air to rise out the top of the roof. Two good styles are the box style vent seen below or a ridge vent. Building Code in Ontario says you must have 1 square foot of ventilation for every 300 square feet of attic space. This seems to be on the minimum side and we like to add extra where possible. You want the inside of the attic to be like the outdoor temperature so the more ventilation the better and the more likely it will stay cool in the summer and less ice damming in the winter. Keep in mind that if on a hot day you stick your heard into the attic it will not feel cool! It will feel warm and will be at least as hot as outside temperature. Especially if you have a dark roof, which absorbs so much heat.
The ventilation code has not changed since the 1950s as we can see by the information on the piece of old insulation in the attic.
The other very important part is that all the new soffits be ventilated. Every piece will have small little slits in it to allow air to pass through the aluminum panel and up into the attic. Now you can be confident you have done major improvement in the attic temperature which will slowly begin to pay you back with each passing year. A longer lasting roof, no condensation or mold problems, an air conditioner that runs less frequently, and less chance of water penetrating your roof/ceiling due to ice damming in the winter.
We hope that this gives you an understanding of the process on a home we have done in Toronto. We do soffit, fascia, and eavestrough through our regular season and attic insulating in the winter months.
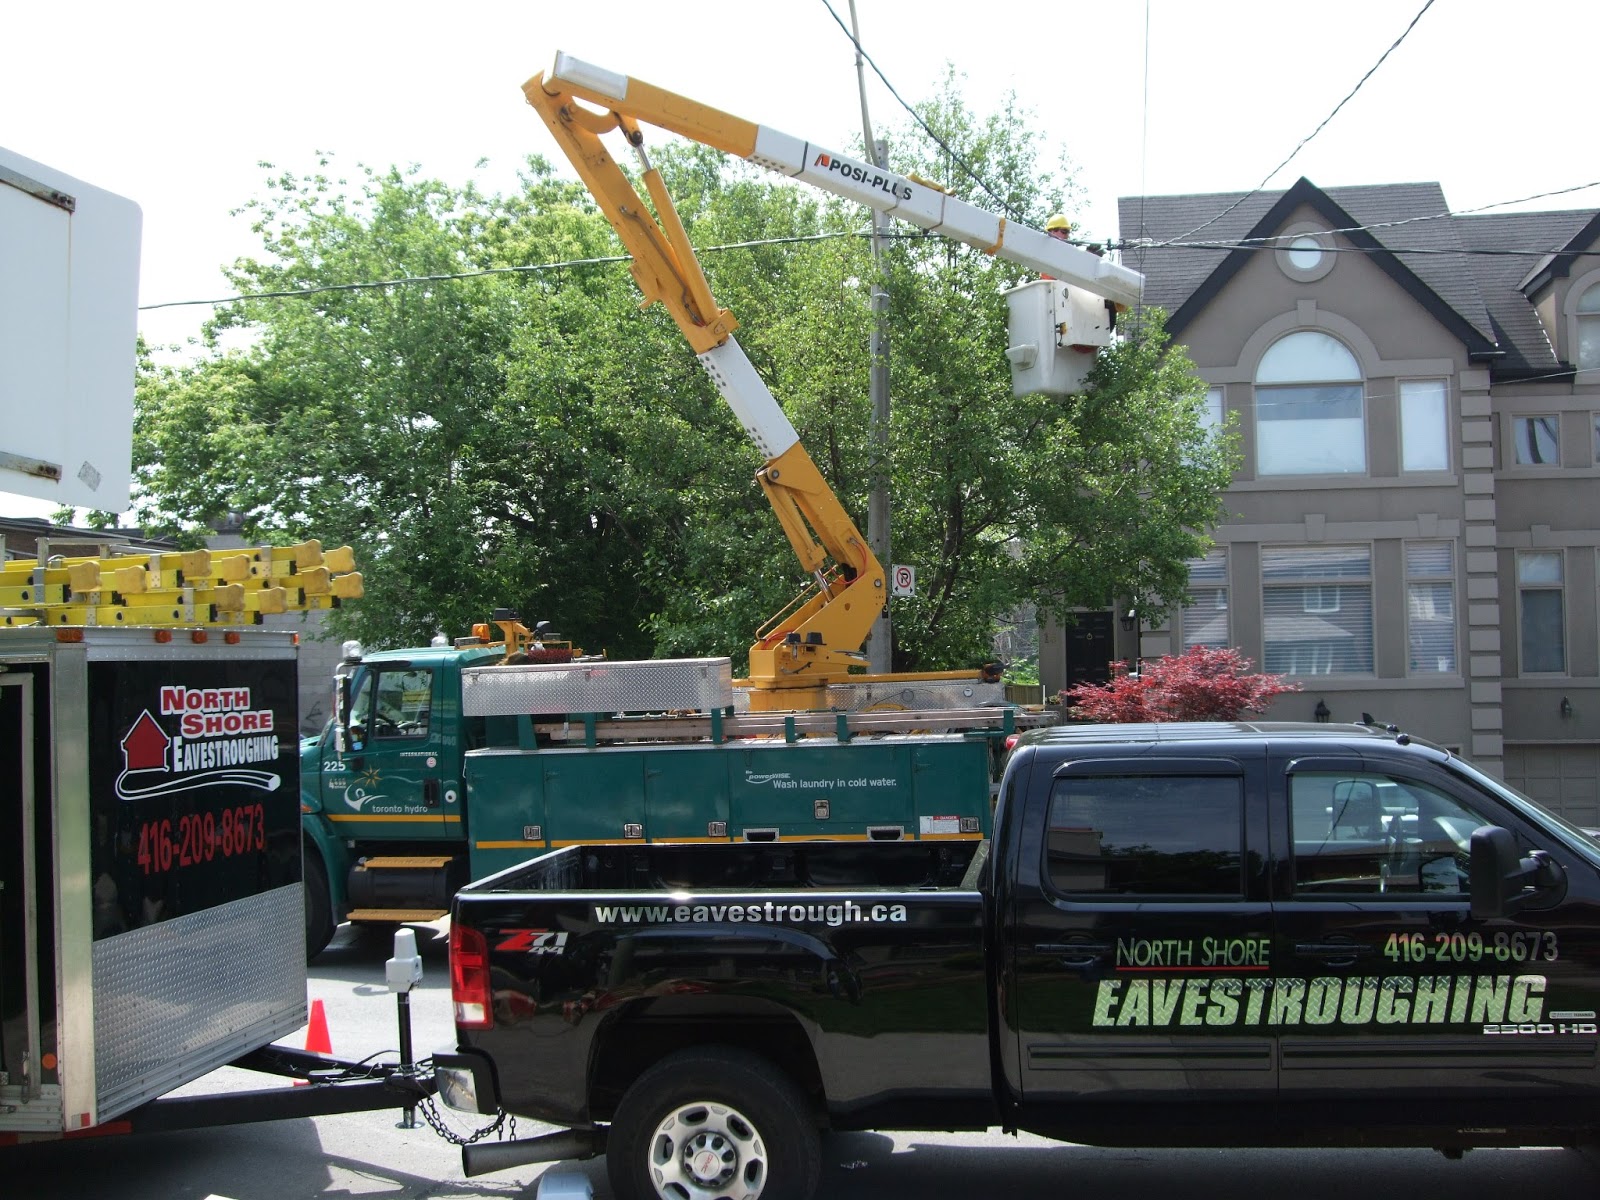
 We never get a second chance to make a first impression. North Shore Eavestroughing believes that we must portray an image that is consistant with the high standards we have for working on your home. Clean, well lettered vehicles can be one way to determine how much pride a company takes in their day to day operations. Companies that take pride in their work and operate without subcontractors generally have well lettered company vehicles. This is a great way to pre-qualify potential contractors no matter what the trade.